The Smart Tools tab provides a convenient way to configure all of settings that affect the appearance and behavior of the various Smart Tools that are built into the platform. You can also access the most common Smart Tools settings from the Smart Tools and wave count settings menu, for added convenience.
Use My Default Drawings
If you have saved default settings for any of the Fibonacci-related or Pitchfork drawing tools, enable this setting to display your default drawings as Smart Tools, rather than the system defaults. This can be useful if, for example, you prefer to view different Fibonacci levels than the system defaults, or if you prefer to customize the colors and appearance of those tools.
Default Pitchfork Style
Here you can choose the type of pitchfork style you would like. You can choose between Andrew’s, Schiff, and Modified Schiff. Also, Show Smart Pitchfork must be enabled (see below).
Show Wave Lines
When enabled, hovering your mouse over a wave label will show the lines connecting the subwaves of the wave pattern.
Show All Wave Lines
Click this to toggle on and off the lines between all wave points currently on the chart.
Show # Of Bars On Waves
This feature determines whether or not the number of bars a wave contains is displayed next to their respective wave labels on the chart.
Show Wave Info
If this feature is enabled, hovering (or touching) a wave label will display critical details about the wave.
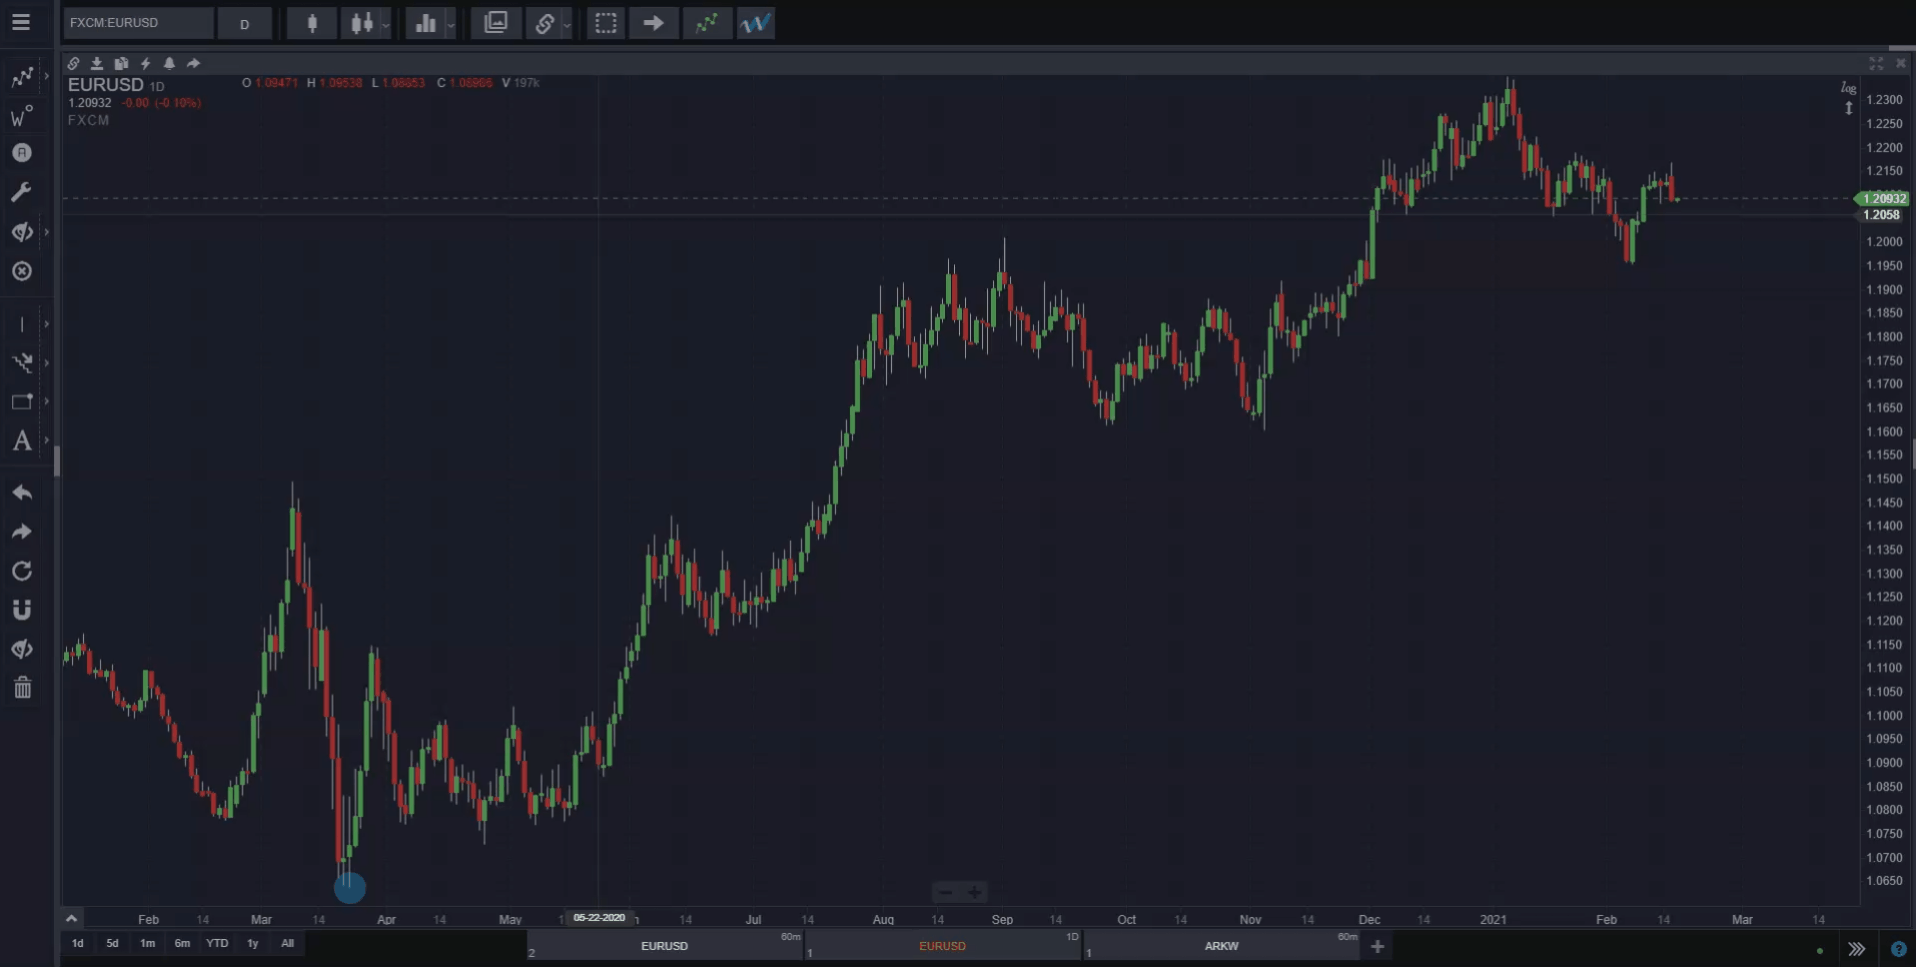
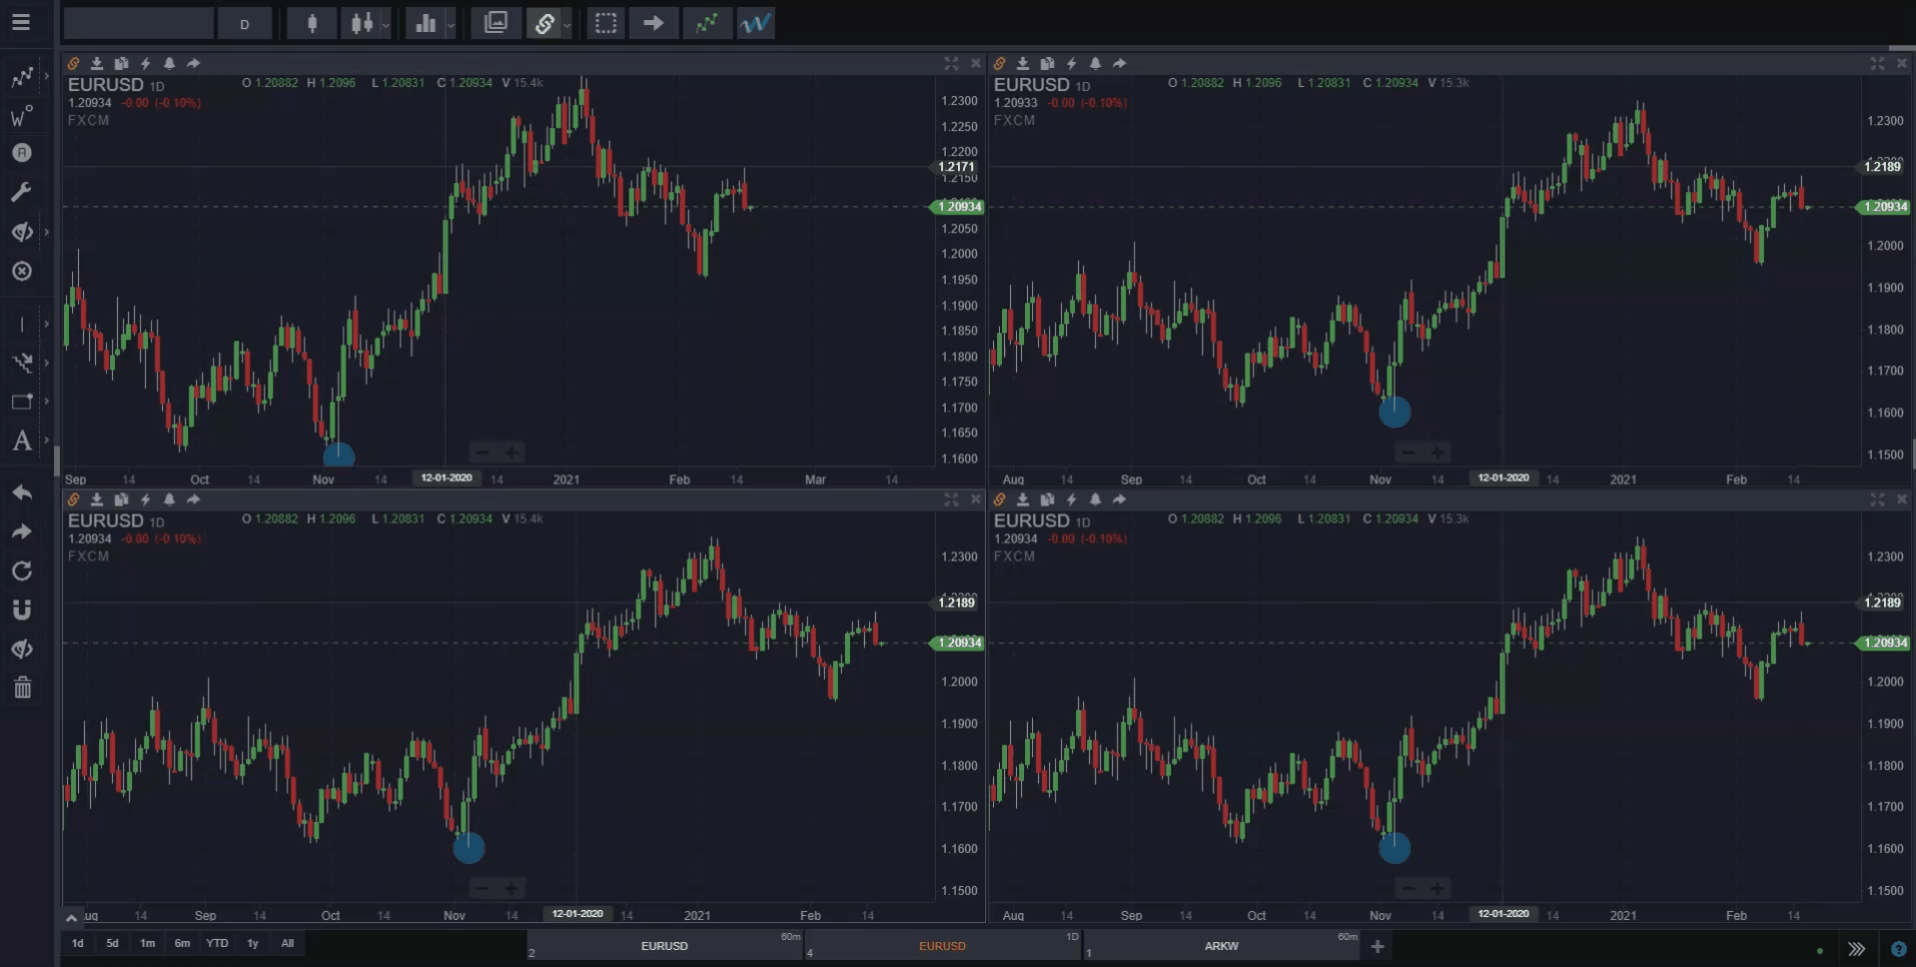
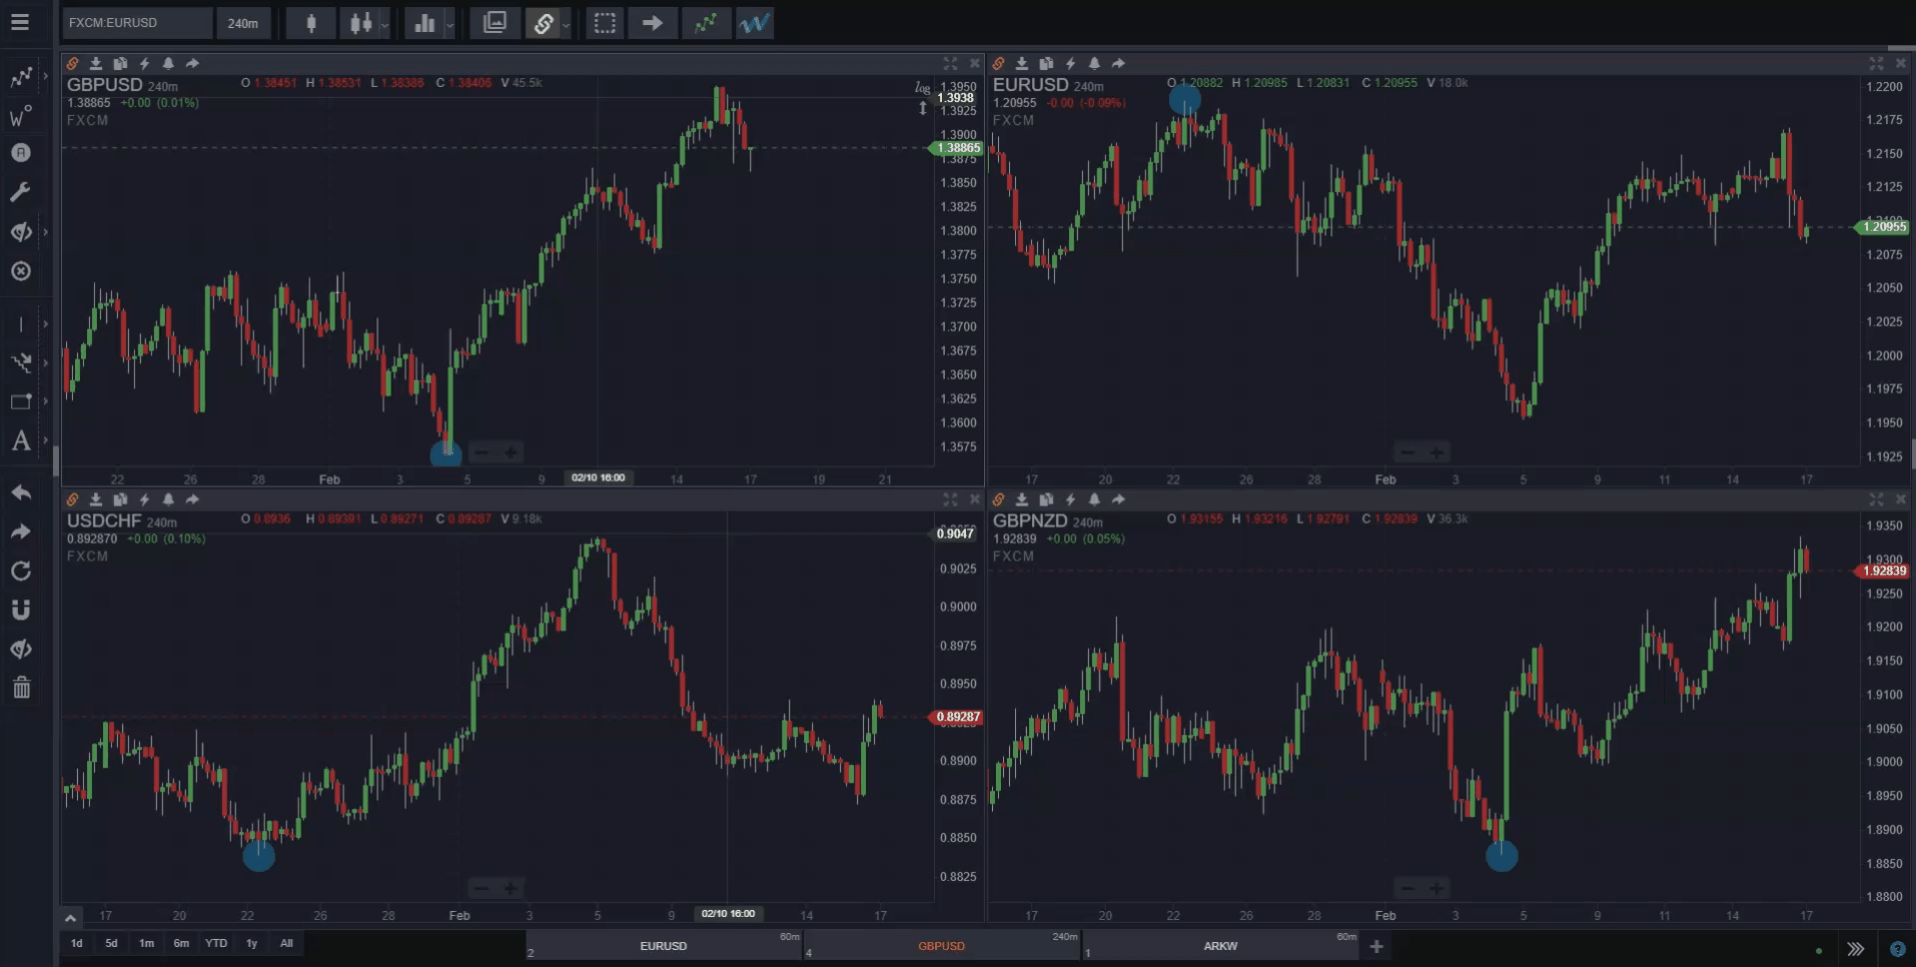
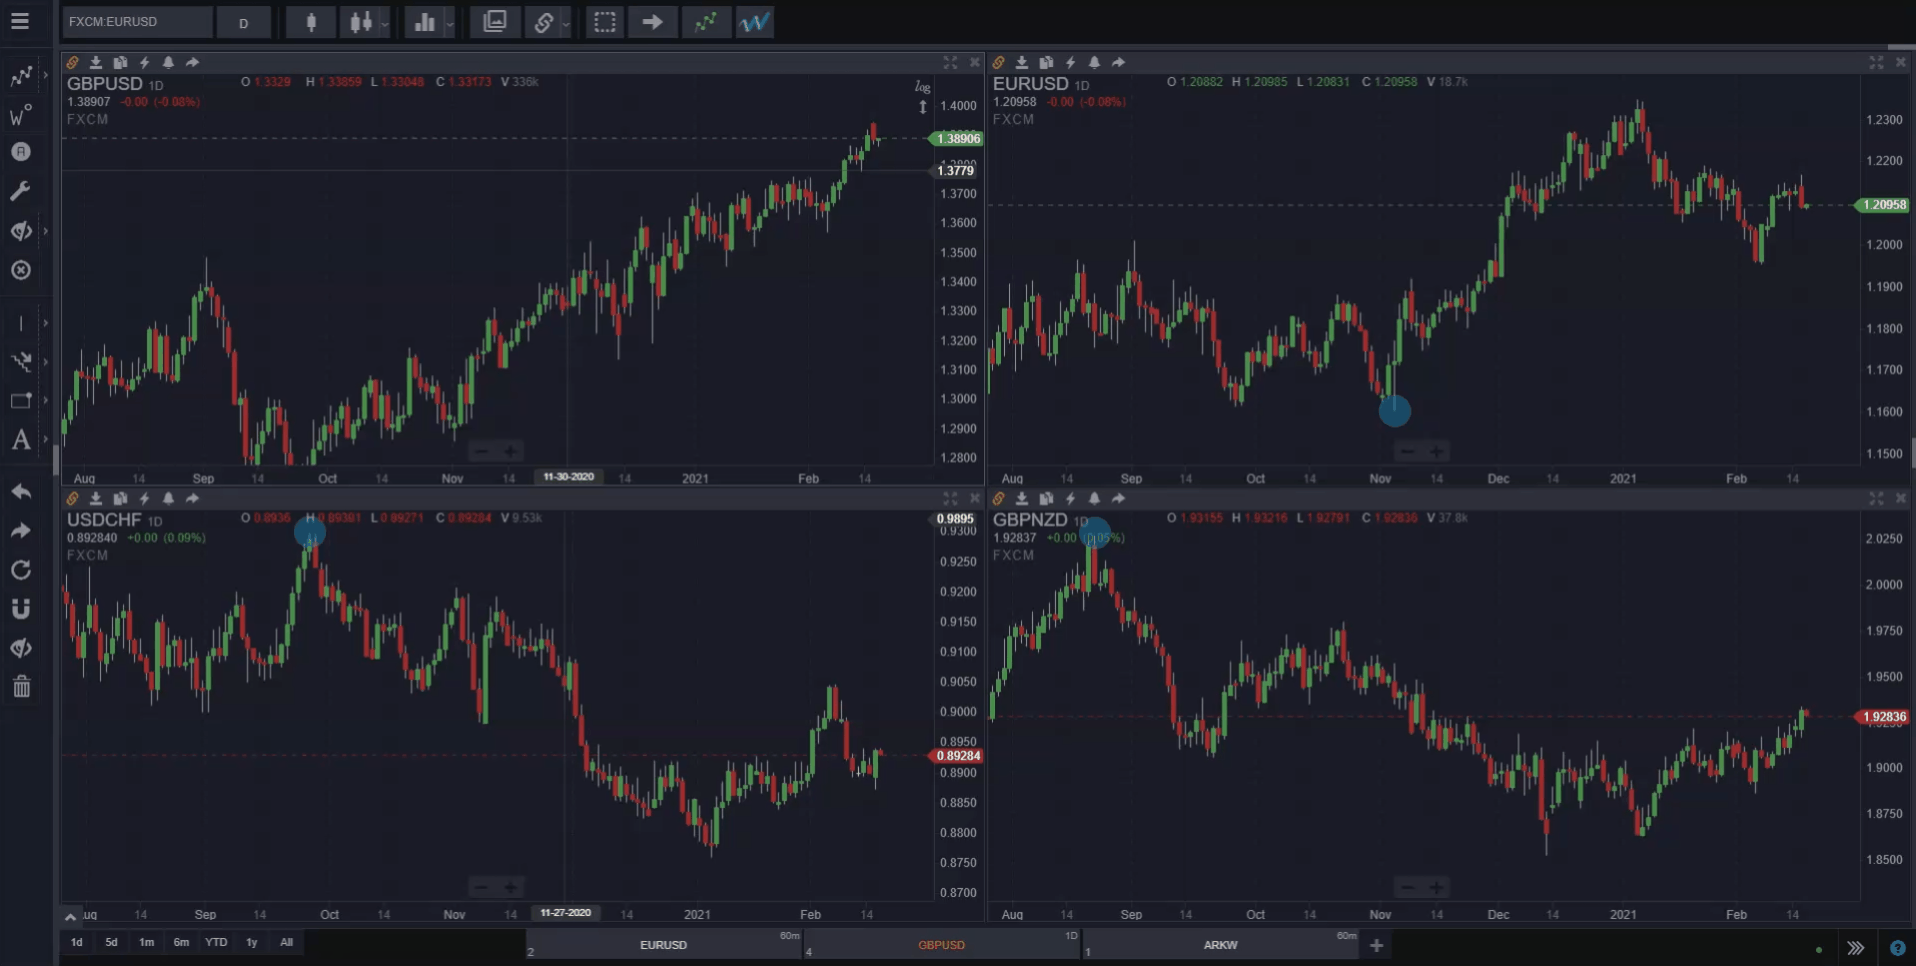
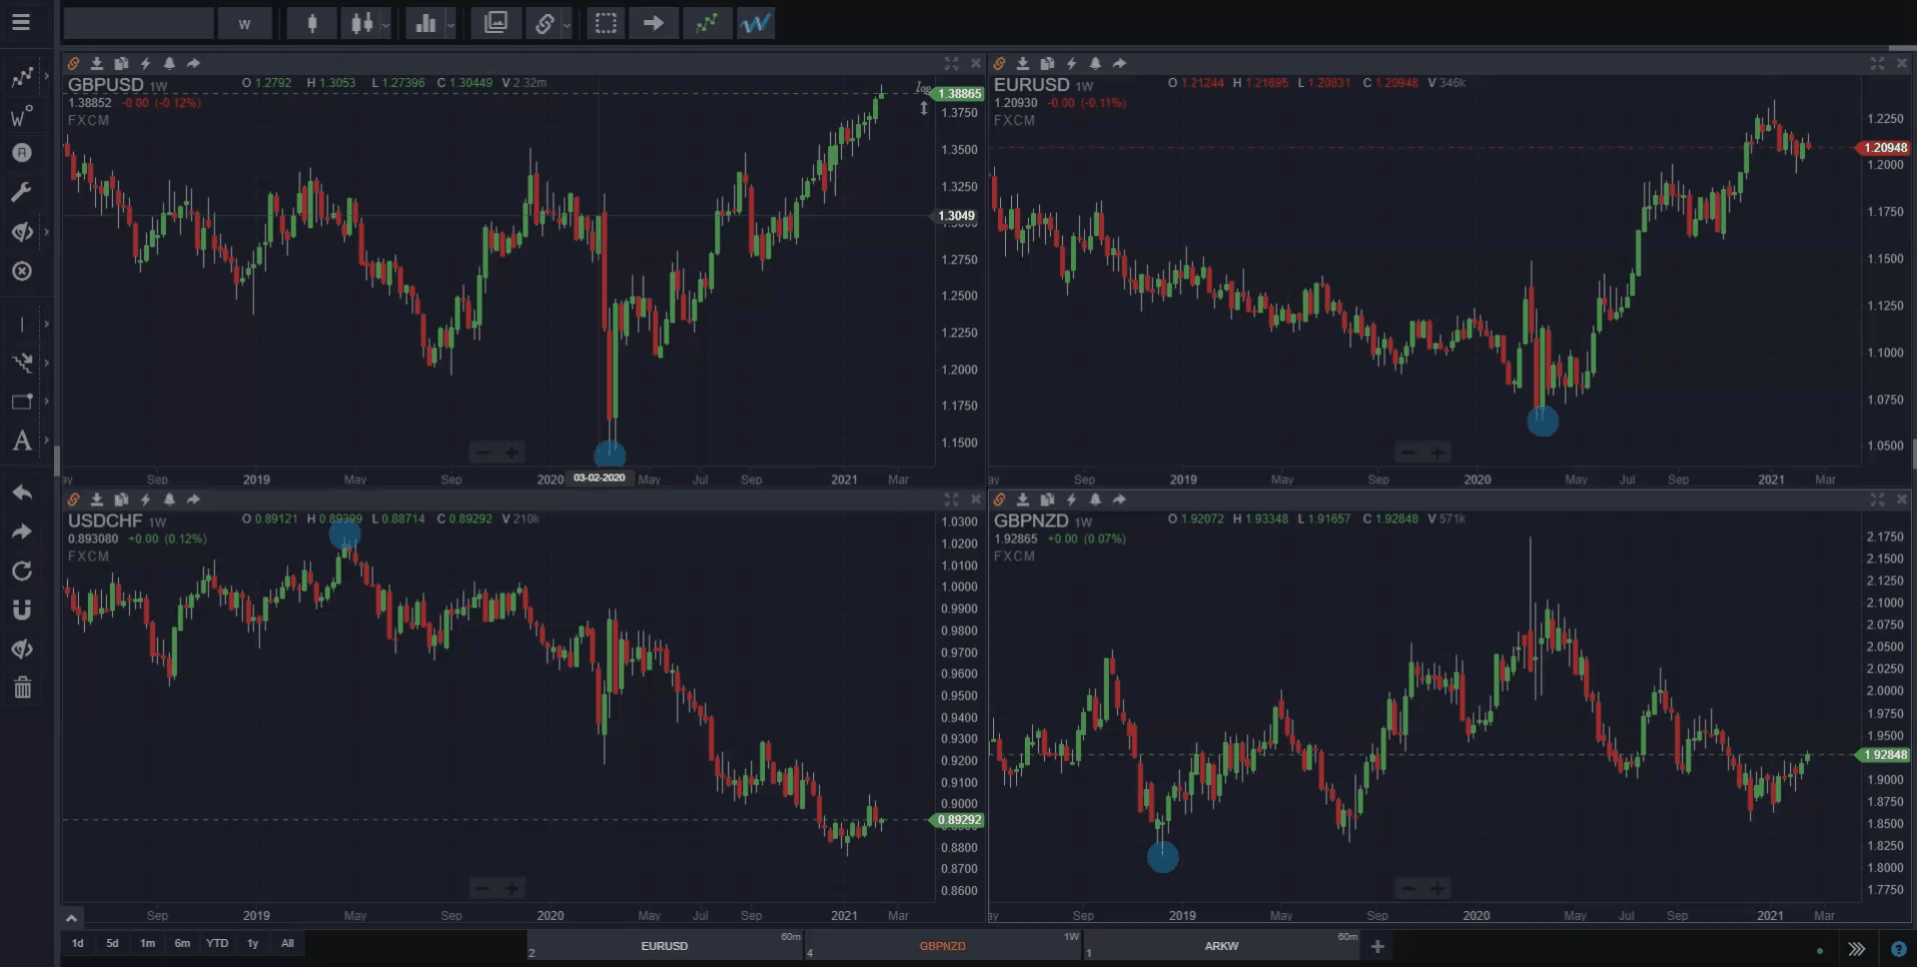
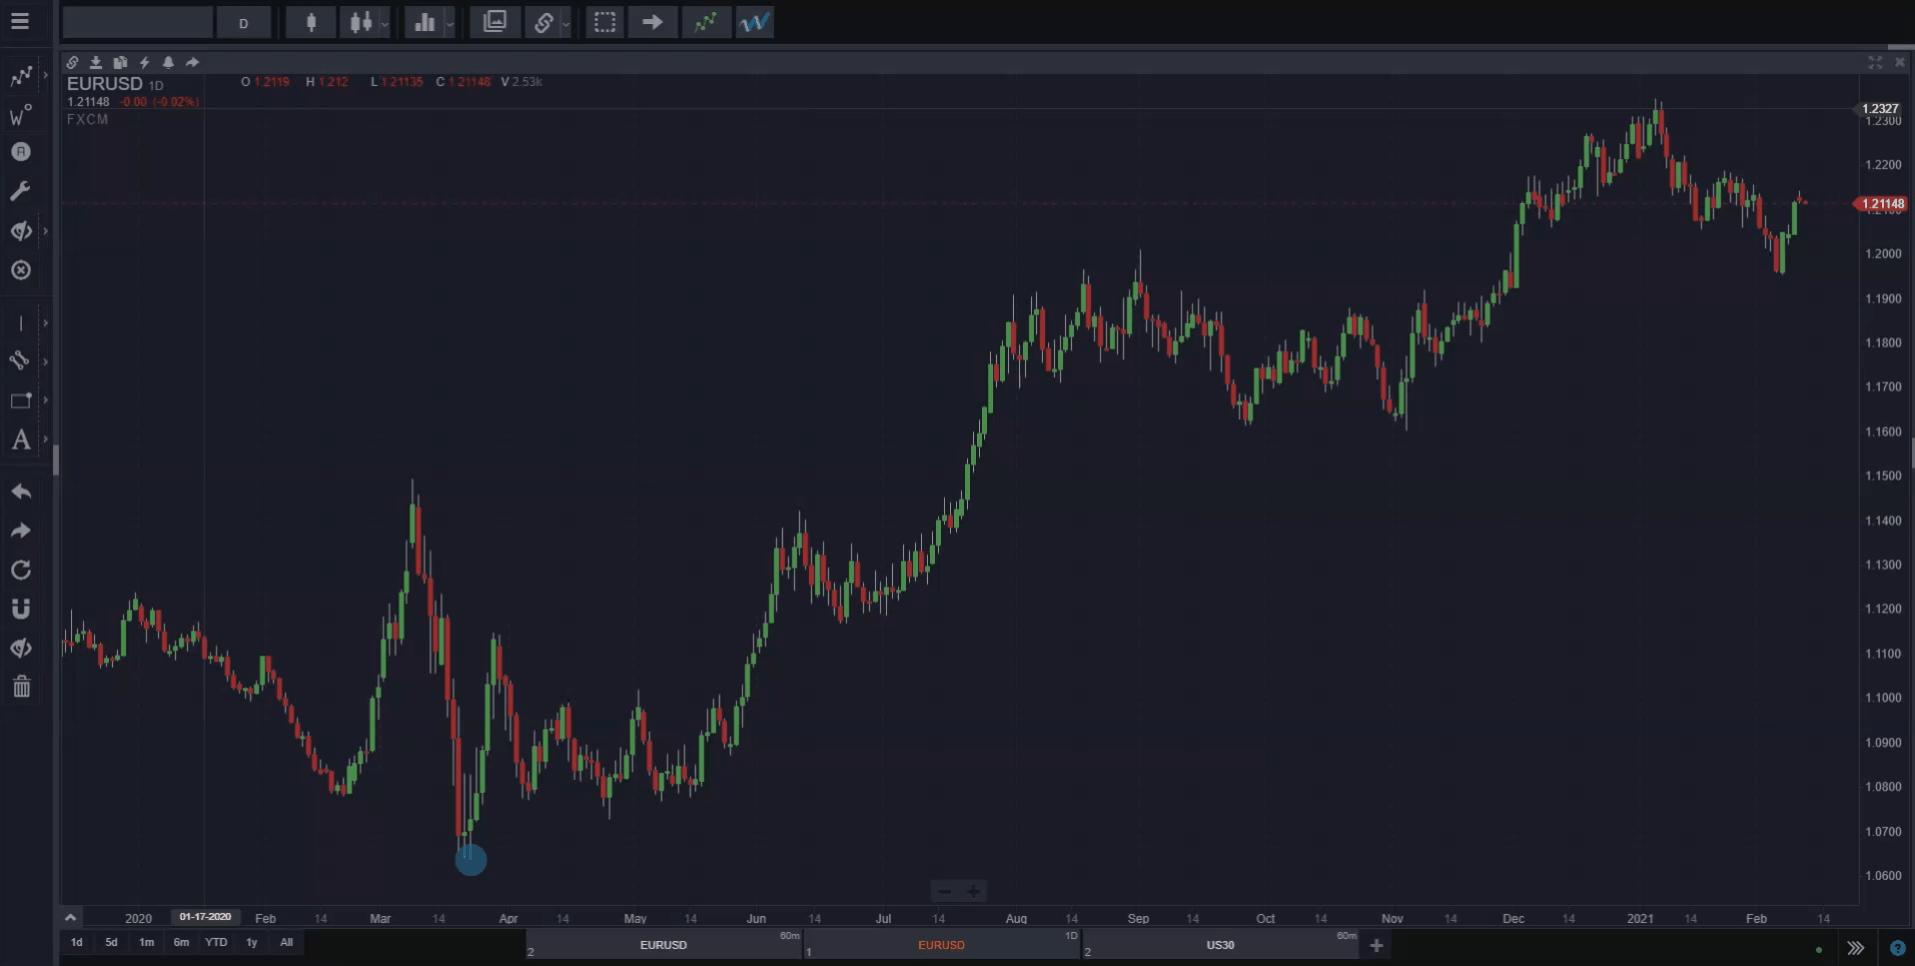
Show AutoCount Start
When you enable Show AutoCount Start, a “blue dot” will appear on your chart to let you know where a new automatic wave count will start if you run one.
Learn more about Automatic Pivot Detection.
Show Smart Fibs
When enabled, hovering your mouse over a wave label will automatically show Fibonacci retracement or extension levels, depending on the wave. All of the Fibonacci-related settings below require that Show Smart Fibs is enabled.
Show Fibonacci Percentage Levels
This feature allows you to enable whether you will see the Fibonacci percentages of the retracement or extension levels labeled on your chart when you hover over waves.
Show Fibonacci Price Flags
When this feature is enabled, you’ll see a price flag plotted on the price axis within your workspace. The result will look similar to the current price’s price flag.
Smart Fibonacci Levels Extend Right
This feature extends the Smart Fibonacci tool lines continuously to the right; so as you scroll, the levels will extend indefinitely or; for as long as the chart can scroll.
Smart Fibonacci Levels Extend Left
This feature extends the Smart Fibonacci tool lines continuously to the left, so as you scroll, the levels will extend indefinitely or for as long as the chart can scroll.
Show Fibonacci Price Levels
When this setting is enabled, you will see the price at which each Fibonacci percentage point/line resides labeled on the chart.
Learn more about the Smart Fibonacci tool.
Show Support/ Resistance
When enabled, as you hover over a particular wave, WaveBasis will display a projection of the target support/resistance level of the next wave, in the form of a colored box. This tool does not define an exact point of where the support and resistance will be, but instead displays the most likely range of support/resistance areas. Learn more about Smart Support/Resistance.
Support/ Resistance Matches Wave Color
If this feature is enabled, the support/resistance box’s color will match the wave pattern’s color. When this feature is disabled, all support/resistance zones will be displayed in green.
Support/ Resistance Extend Right
By default, support and resistance areas will only extend a small distance to the right of the wave label for the target wave. Enabling this seeting extends the support/resistance box continuously to the right, so as you scroll, the support/resistance box will expand indefinitely or for as long as the chart can scroll.
Show Smart Pitchfork
When enabled, hovering your mouse over a wave label will automatically show the Smart Pitchfork tool on the relevant wave.
You can read more about Smart Pitchforks.
Show Smart Fans
When enabled, hovering your mouse over a wave label will automatically display the Fibonacci Fan retracement levels which are most relevant for that particular wave.
Show Smart Arcs
When enabled, hovering your mouse over a wave label will automatically display the Fibonacci Arcs which are most relevant for that particular wave.
Show Smart Elliott Channel
When enabled, hovering your mouse over a wave label will automatically display the Elliott channels which are most relevant for that particular wave.
Read our complete guide on Smart Tools.