• Working with Charts

Indicators, Studies, and Overlays

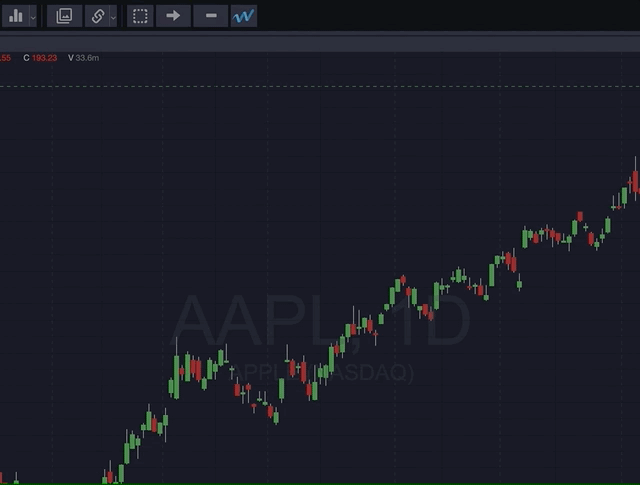
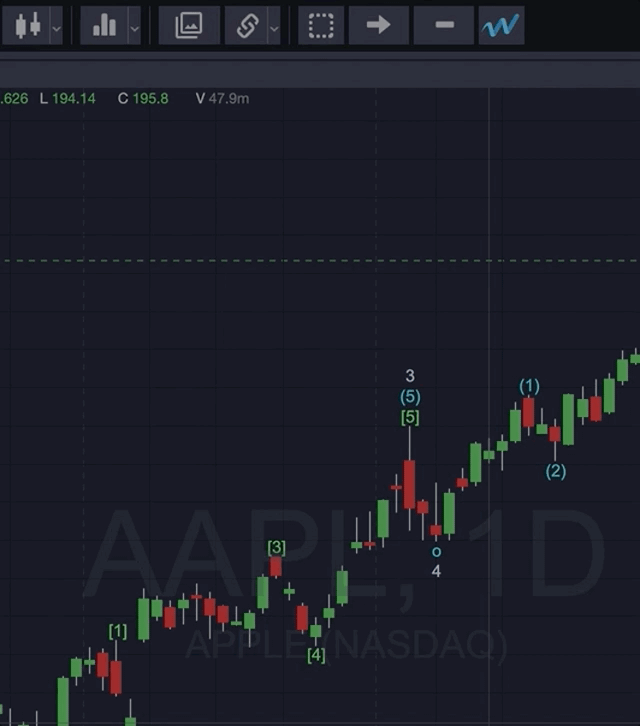
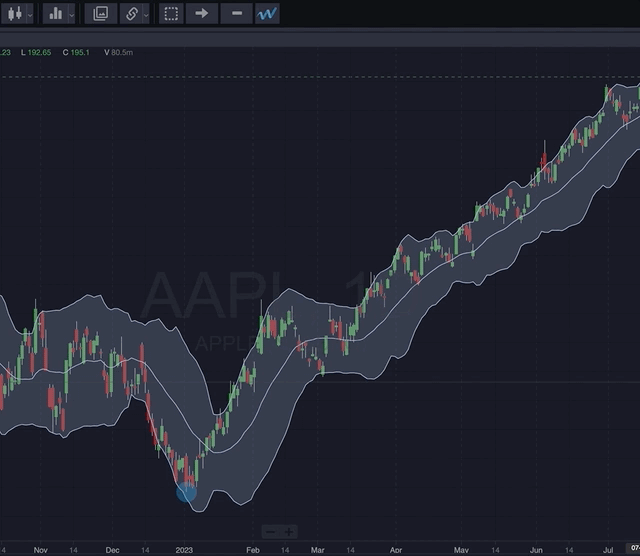
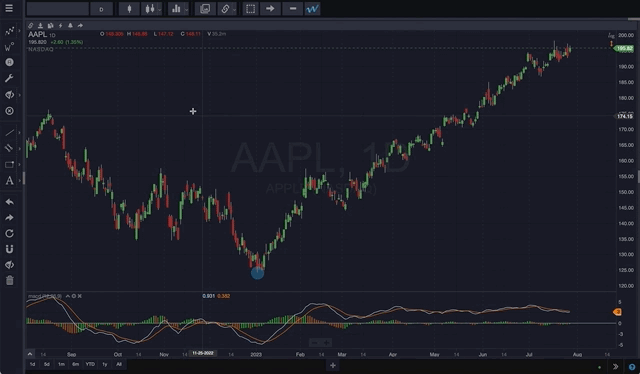
You’ll find over 100 indicators, studies, and overlays you can apply to your charts to facilitate your analysis. Some indicators overlay directly on the chart; other indicators create panels which you can position either above or below the charts. You can modify the parameters for any indicator, too.

To streamline your analysis workflow, you can also save collections of indicators as templates which you can quickly apply to any chart. You can also set a template as the default indicator template for all new charts you create.

The Indicators and Studies menu works for you in two ways: Click the main button and a searchable list of all available indicators, studies, and overlays appears. Select any item from the list to add the selected indicator to the chart or a new panel.


Click the down arrow button on the right side of the Indicator and Studies menu to choose from a list of popular indicators. This menu also includes any indicator templates that you’ve saved, as well as options for managing indicators and templates.


Saving Indicator Templates

You may have indicators you like to use on certain, or all, charts you create. Create Chart Indicator Templates for quick access to your preferred indicators, studies, and overlays. To create an indicator template:

  1. Create a chart and apply the indicators you wish to use.
  2. Click the Chart Indicator down arrow menu and select Save indicator template…
  3. Give your new indicator template a name and click OK.
  4. Your new indicator template appears at the bottom of the menu when you click the Chart Indicators down arrow menu.

NOTE: To set an indicator to be your default template, click the check mark next to the template’s name.


Indicator Overlays and Panel Settings

You can adjust the parameters for any indicator overlay or panel:

  • Change the parameters for an indicator overlay, such as Bollinger Bands, by hovering the indicator so that it takes on a highlighted appearance, then right-clicking the overlay and selecting Indicator properties. The Indicator Properties pop-up displays, allowing you to set the parameters you prefer. Click OK to save your settings


  • To adjust the parameters for an indicator that is displayed in a panel, click the gear icon in the appropriate panel, edit the parameters, and click OK to save your settings.


  • You can resize any panel by hovering over the top of its title bar and dragging it up or down.
  • Rearrange indicator panels by clicking the up/down arrow icon in a panel title bar to move it up or down relative to the panel above or below it.
  • Delete a panel by clicking the ‘X’ in the panel title area.
Read More
  • Working with Charts

Chart Transformations

WaveBasis provides classic chart transformations for tracking price movements through an alternate lens. The Chart Transformations menu provides the following selections:

  • Heikin Ashi
  • Kagi
  • Line Break
  • Point & Figure
  • Renko


Read More
  • Working with Charts

Chart Styles

The Chart Styles menu provides an easy way to change the visual appearance of the price series displayed on a chart. You can choose any one of the following familiar styles to suit your preference:

  • Candle
  • Bar
  • Colored bar
  • Line
  • Hollow candle
  • Area
  • Colored line
  • Baseline delta


Read More
  • Working with Charts

Choosing a Chart Time Range

You can customize the chart time range by zooming or panning, by dragging the date axis a shown below, or by selecting a pre-defined fixed range from the Chart Time Range Selector at the bottom left of the workspace.


Read More
  • Working with Charts

Using the Log Scale

The price axis is by default set to a linear price scale — prices are displayed equidistant from one another. However, for occasions when a logarithmic price scale is more appropriate you can easily do so by clicking the Log link in the upper right of the current chart. A logarithmic price scale presents two equivalent price percentage changes as equidistant from one another; as the symbol prices go up, the distance between the numbers on the Price Axis decreases.

Read More
  • Working with Charts

Constraining Price Scale and Wave Visibility

By default, the chart constrains and adjusts the price scale dynamically to keep chart price extremes and wave labels always in your field of view.

Note: This will also prevent the chart from being moved/dragged vertically, so if you would like to move the chart vertically yourself, disable this tool by clicking it.

This tool is grouped with other chart tools in the upper right corner of the chart along the price axis, and they only display when the mouse cursor is hovering over the chart.

You can disable price axis constraint by:

  • Clicking the double arrow icon as shown below
  • Dragging the price axis vertically to change the scale


Disabling the automatic constraint feature will also allow you to move a chart vertically. Click the double arrows again to reenable automatic constraint.

Read More
  • Working with Charts

Zooming and Panning the Chart

WaveBasis makes studying charts a natural and intuitive experience, allowing you to browse and focus on areas of interest using the zoom and pan tools. You can zoom and pan in the following ways:

Zooming

  • Use the mouse wheel – click in the chart and scroll up to zoom out, down to zoom in.
    • On a trackpad, pinch with two fingers or swipe forward and backward with two fingers to zoom in and out.
  • Click the – + buttons at the bottom of the current chart.


Panning / Scrolling

Pan the chart by holding down the left mouse button over the chart and dragging in any direction. Release the mouse button to complete the operation.

On a trackpad, double-tap but don’t lift your finger after the second tap — or click and hold — to drag. Lift your finger to complete the operation.


NOTE: You can also drag the X and Y axes to change the chart time frame and price scale, respectively.


Zoom Speed And Sensitivity

You can change how your chart interacts to zooming and panning by changing the zoom and pan settings within the platform settings. This feature enables you to get the glance you want; at the pace you prefer.

The faster your zoom speed and sensitivity; the faster you’ll be able to zoom when you’re using charts.

You can also access the zoom speed and sensitivity settings by clicking the three stacked arrows on the screen’s bottom right corner. You’ll be able to choose between Slow, Medium, and Fast just as you would be able to in the Charts tab within the platform settings.


Precise Chart Panning

This feature refers to how fast and precisely the chart moves when you drag it left or right. If this feature is enabled, you will be able to pan faster without the chart continuing to pan once you lift your pull off the chart. You can enable/disable precise chart panning from the charts tab within the platform settings.


Read More
  • Working with Charts

Shortcut to Set Symbol and Resolution

You don’t always have to click separate menus to set a symbol or resolution – quickly change the current chart’s symbol, resolution, or both at the same time using one of the many shortcuts built into the WaveBasis platform.

Click anywhere in the chart you are viewing and start typing. The Symbol or Resolution pop-up displays. You can now:


Enter a market symbol

Continue typing a symbol/ticker and click OK (or hit “return” on your keyboard), and the current chart will immediately switche to the selected symbol.

NOTE: Wherever you can enter a symbol in WaveBasis, such as when you are creating a Watchlist, if you are interested in a particular source/exchange, you can enter the source/exchange name before the symbol separated by a “:”.

For example: NASDAQ:AAPL


Enter a chart resolution in abbreviated format

For example:

  • Type 1d, click OK, and the chart resolution updates to 1 day.
  • Type 15 , click OK, and the chart resolution updates to 15 minutes.
  • Type 1m, click OK, and the chart resolution updates to 1 month.


Enter a market symbol followed by a space and the desired resolution

For example:

  • Type FB 1d and the current chart switches to display the FB chart at 1-day resolution.
  • Type GOOG 15 and the current chart switches to display the GOOG chart at 15-minute resolution.


Read More
  • Working with Charts

Changing Chart Resolution/Timeframe

Of course you have the flexibility to customize a chart to the resolution (time frame) best for you and your trading style. The Chart Resolution menu provides a preset selection of popular resolutions, as well as the ability to enter your own custom resolutions (for Trader and Active Trader subscribers). Click the Chart Resolution menu, select a resolution, and the chart updates to reflect your selection.


Read More
  • Working with Charts

Changing Chart Symbols

If you already know the symbol for the market you wish you display in a chart, you can simply type the symbol (or “ticker”) into the symbol field in the top left corner of the workspace, and hit enter/return on your keyboard.

If you’re not sure of the exact symbol, you can search or browse symbols by asset type (Stocks, Index, Forex, Future, Crypto), or narrow your search to symbols traded on a particular exchange. When you see the security you’re interested in, simply click it in the list. These techniques are illustrated below.


NOTE: Wherever you can enter a symbol in WaveBasis, such as when you are creating a Watchlist, if you are interested in a particular source/exchange, you can enter the source/exchange name before the symbol separated by a “:”.

For example: NASDAQ:AAPL


If you’d like to browse and select market listings by category, click in the symbol field and select a category from the top menu. Then select the symbol you want to track:


If you prefer to browse and select symbols by exchange, click in the Market Symbol field and select All Exchanges, then select an exchange to browse:

Read More